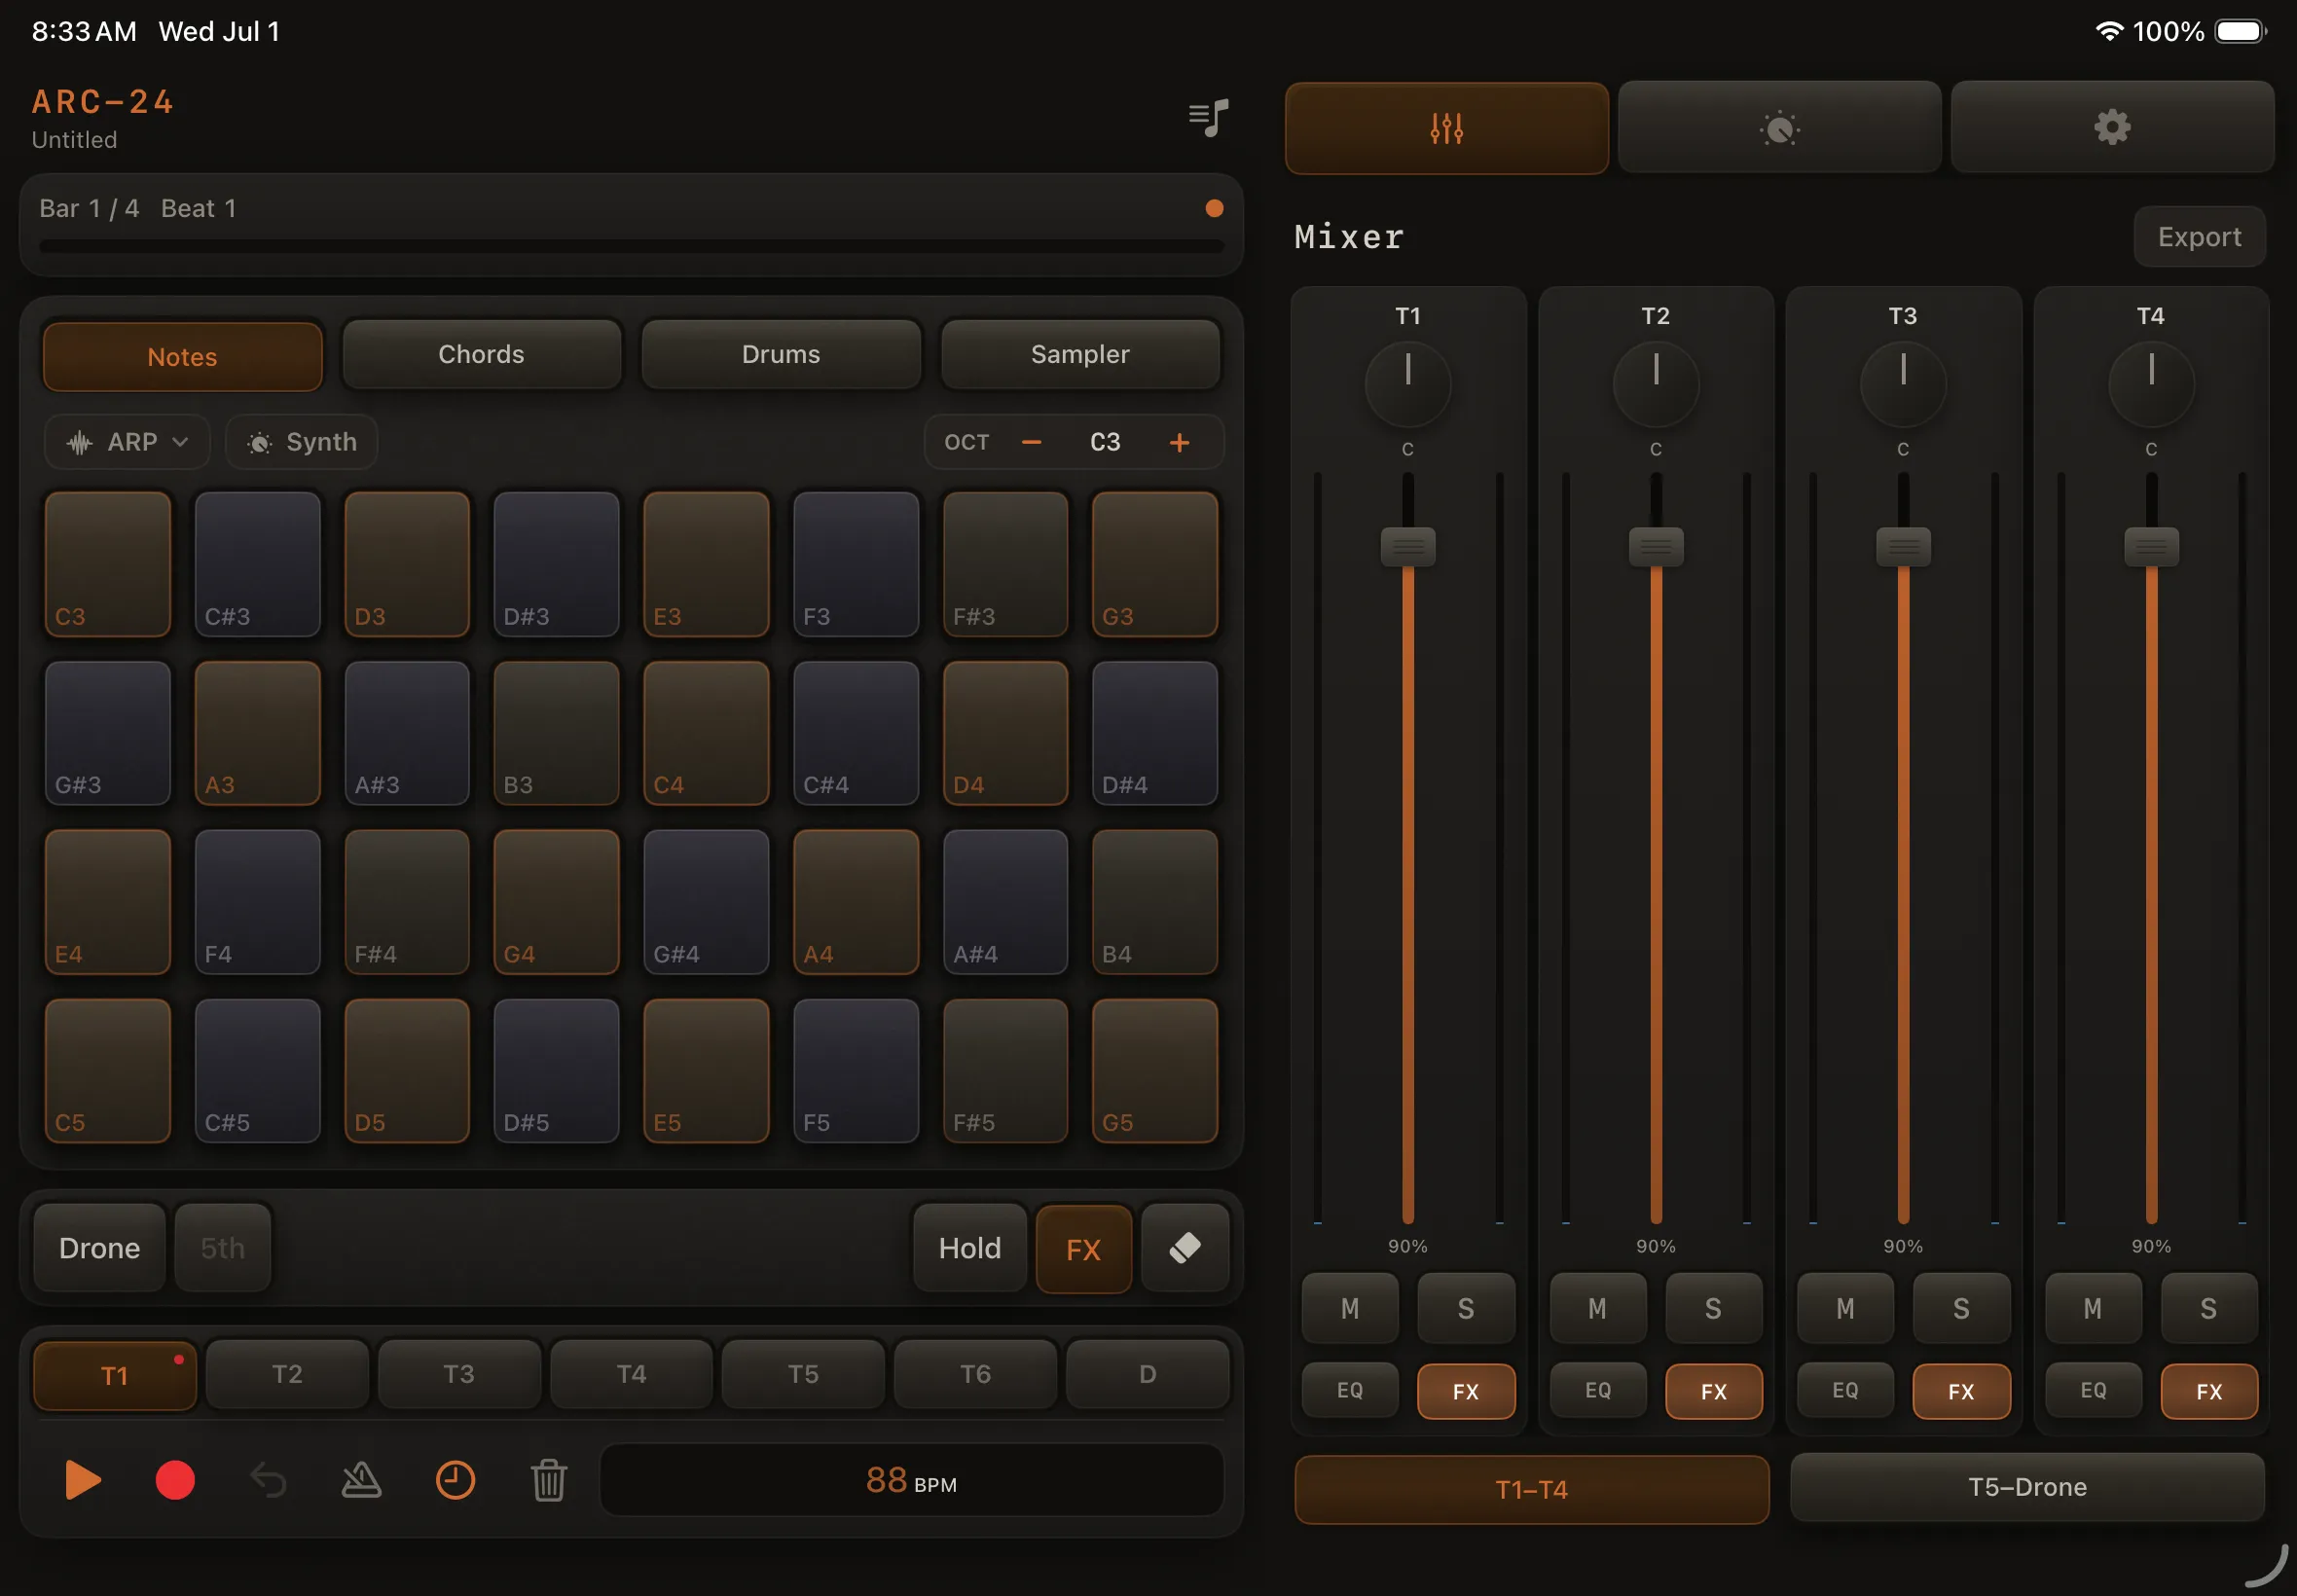
Getting started
This walkthrough takes you from first launch to a saved loop in a few minutes.
1. Open ARC-24
After the launch animation, you land on the Playback screen — the main place you play and record.
On a brand-new install with no songs yet, ARC-24 opens a short Demo song (transport stopped). Press Play to hear it. A one-time Press play to hear the demo song cue sits on the transport; tap play, the X, New Song, or load another song to dismiss it. It does not come back on later launches.
If you already have songs — or this device has launched ARC-24 before — you get the usual blank Untitled session and your library is left alone.
The Quick Start video is in the header ? sheet or Setup → Help & About → Quick Start Guide (it no longer covers the screen on launch). The same video is on the documentation overview.
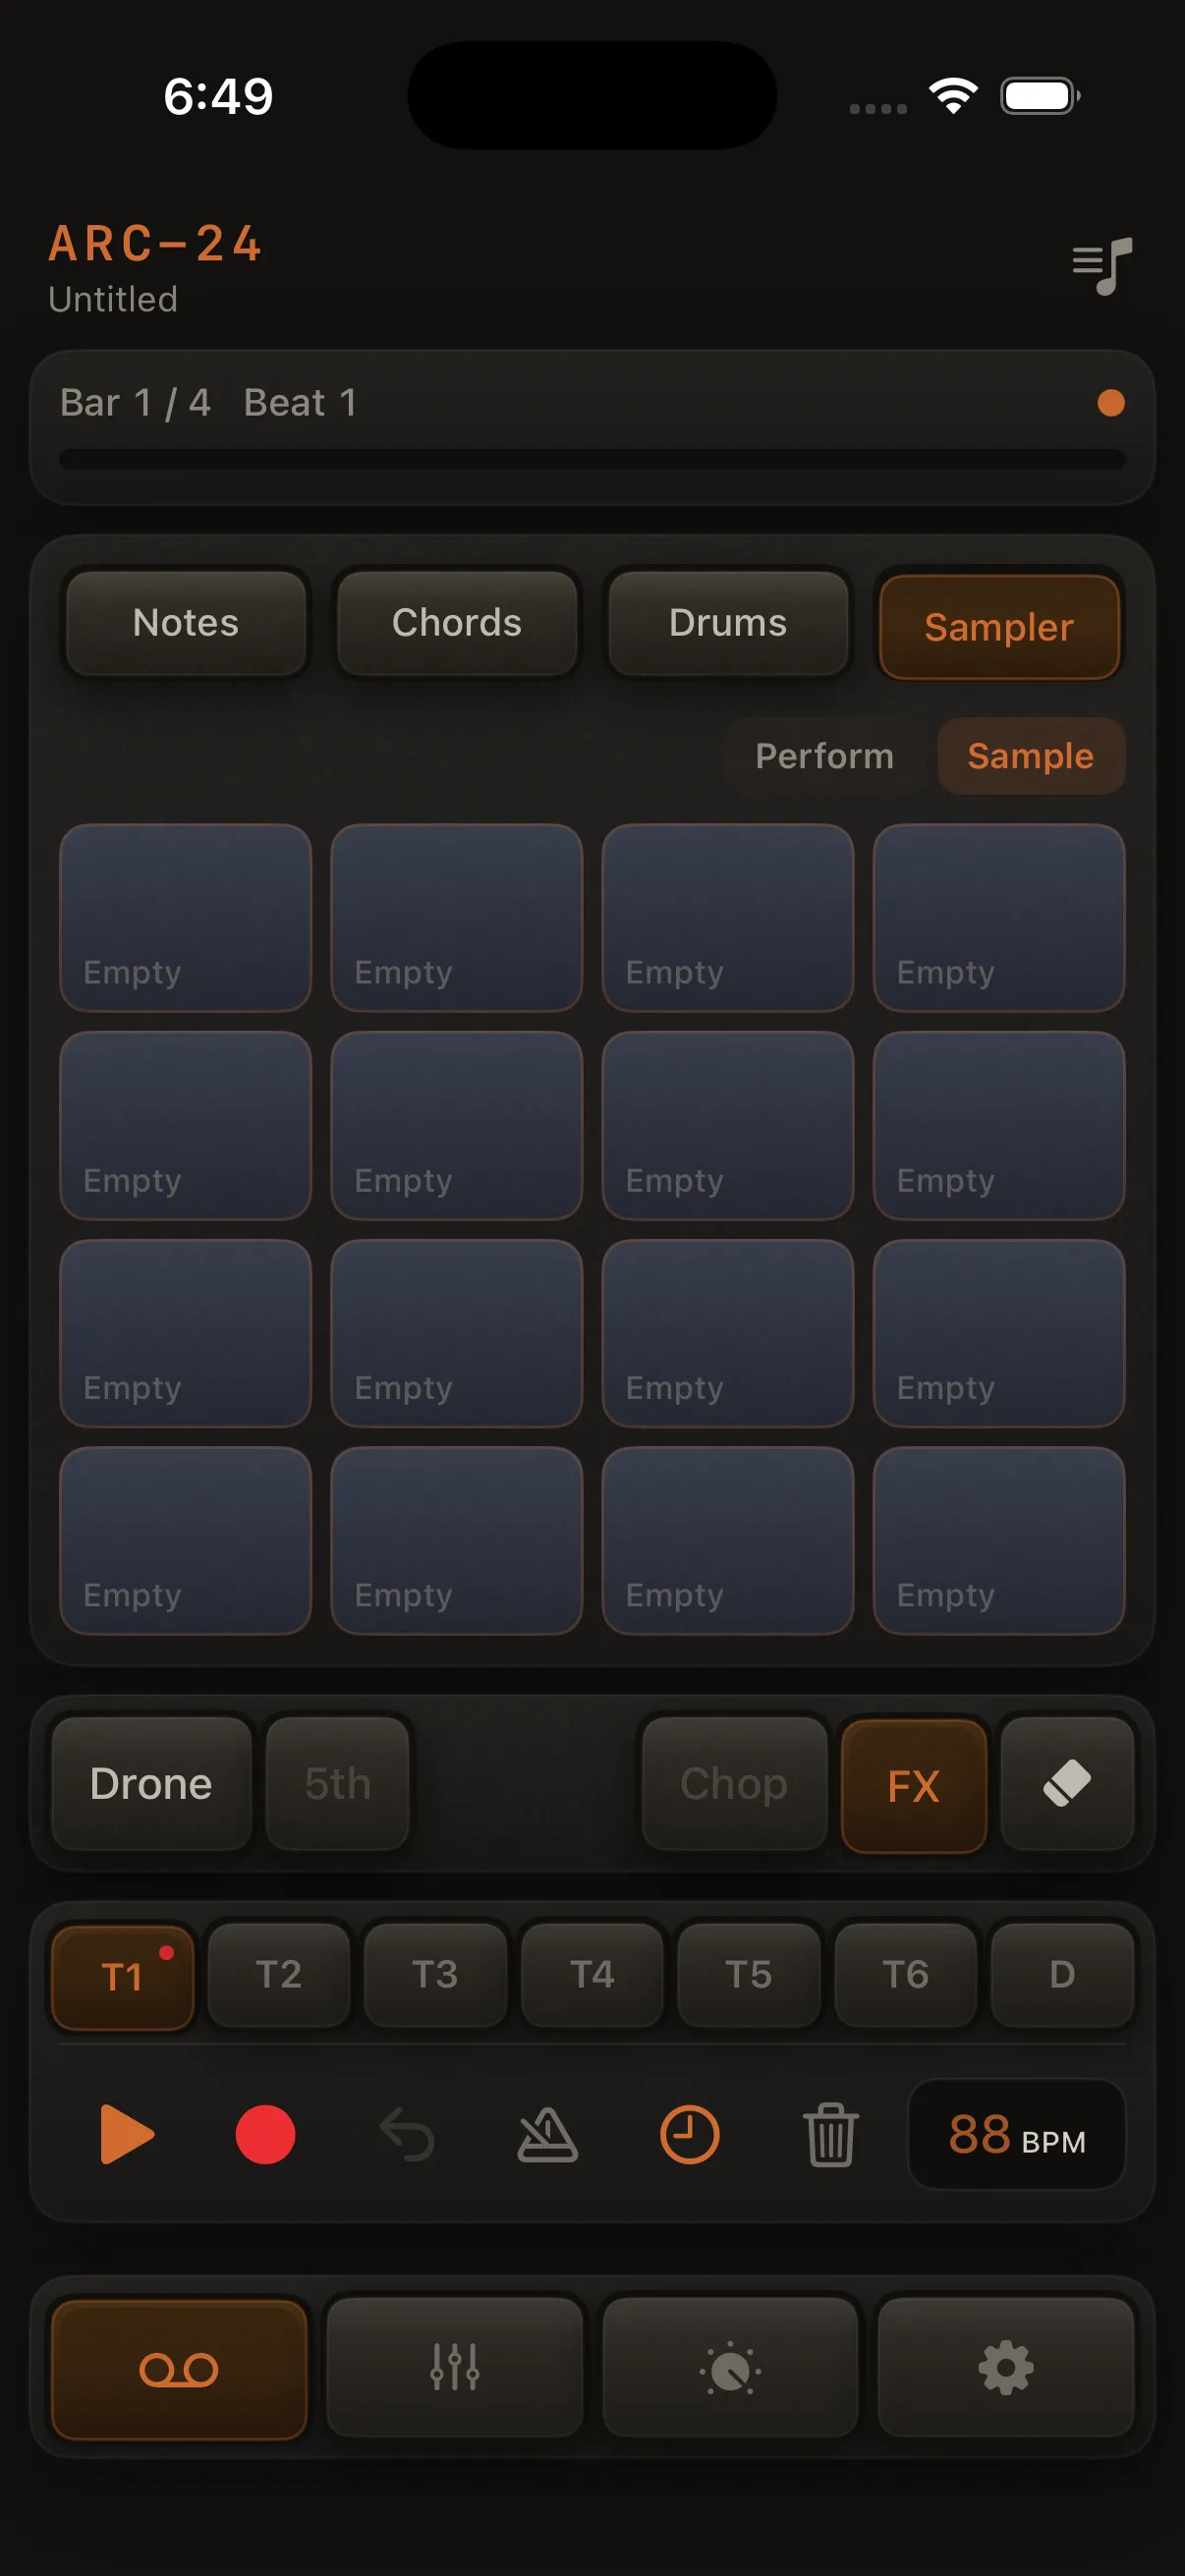
2. Choose a sound
- Tap Sound Design in the bottom bar (dial icon — third tab), or swipe left twice from Playback (past Mixer).
- Select a track (T1–T8) at the top.
- Scroll to Recipes and tap a preset (e.g. Evolving Cloud).
- Optional: use the Preview keyboard at the bottom to hear the sound — preview never records.
Effects (reverb tail, delay, distortion, and the rest) are found by opening Mixer → FX on that track, or tap FX in the extras row on Playback.

3. Set key and loop length
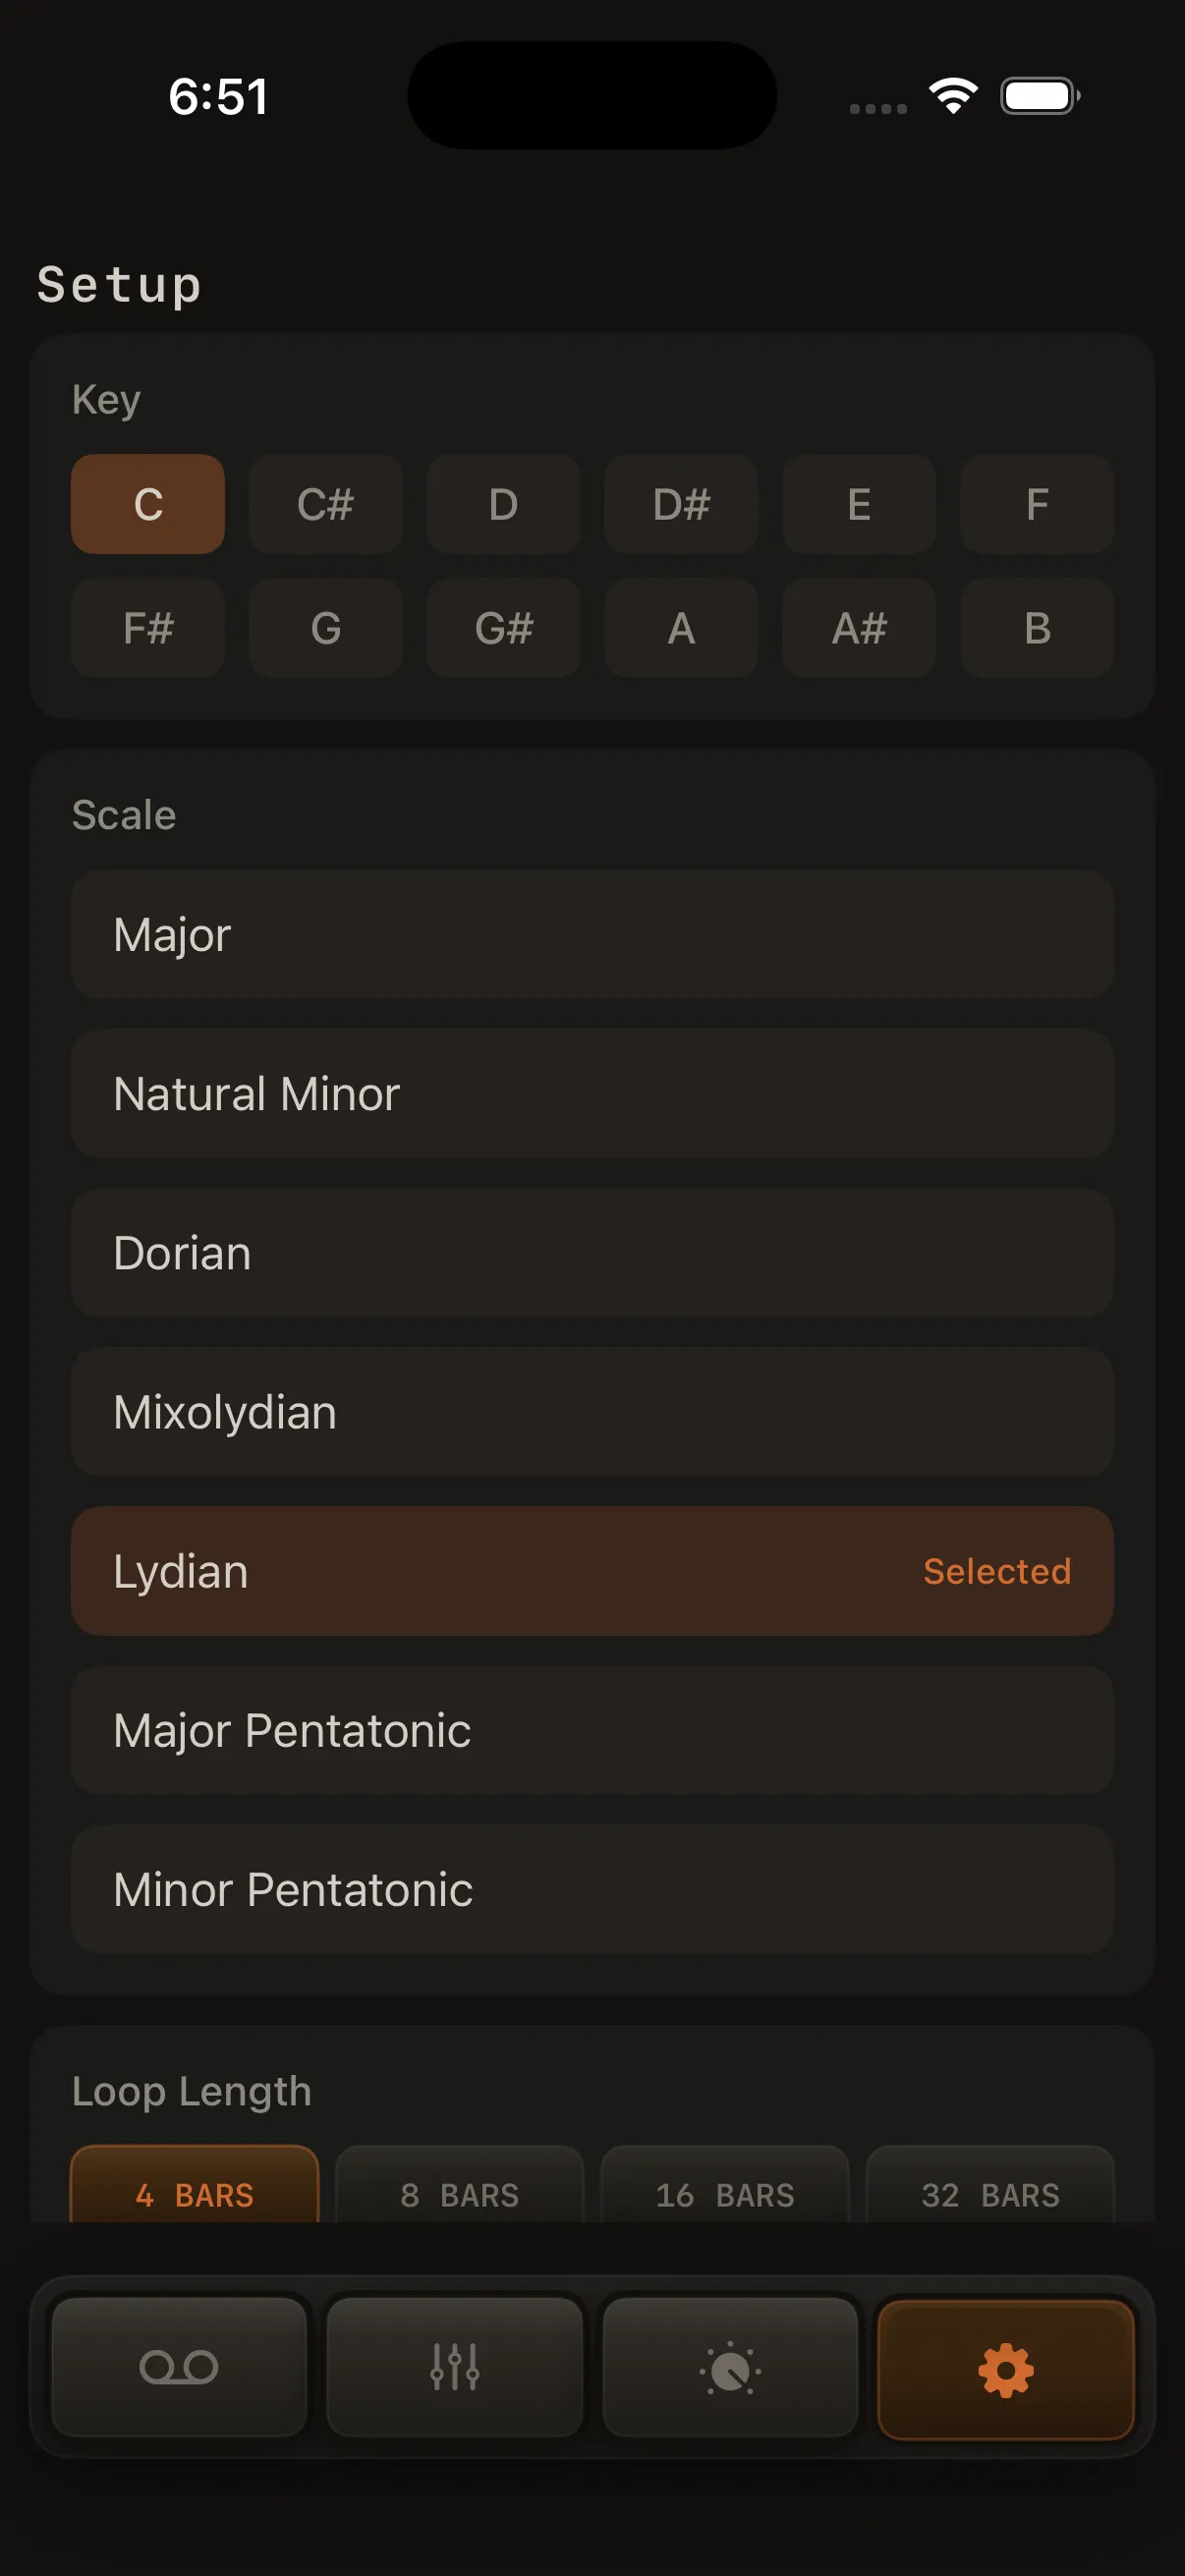
- Open Setup (gear icon).
- Under Music, set Key and Scale (e.g. C Major).
- Set Loop length (4–32 bars; default is 4).
These apply to the loop you're editing now.
4. Arm a track and record
- Go back to Playback.
- Tap a track tab (e.g. T1) in the control bar.
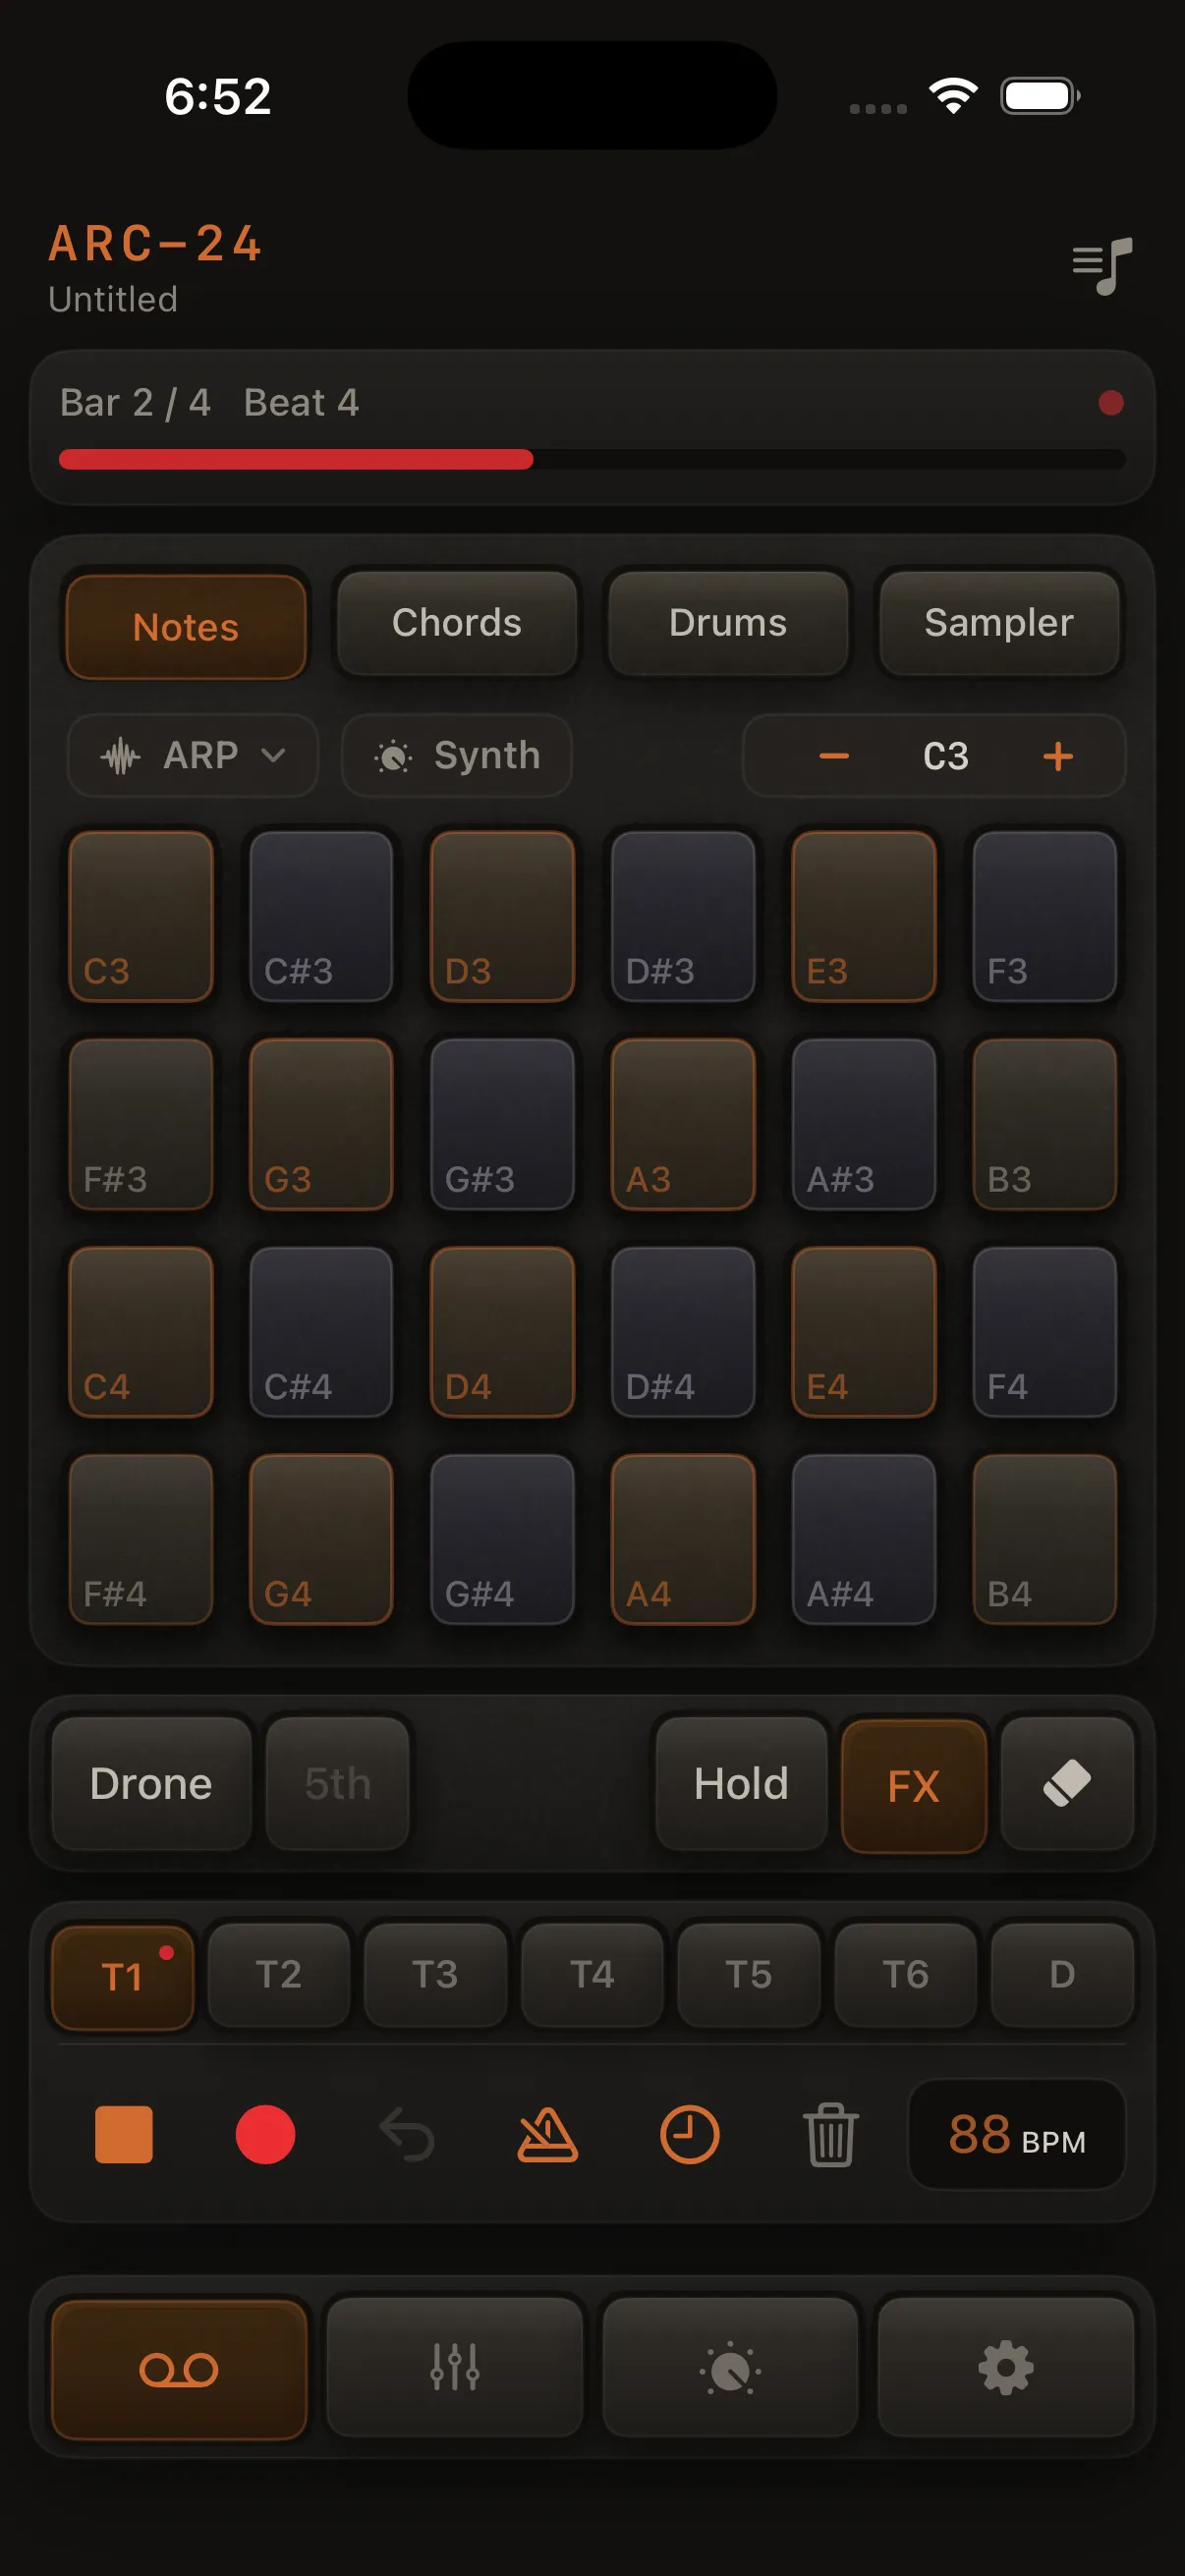
- Tap record arm — it turns red when armed.
- Tap Play. If preroll is on, you'll get a four-beat count-in first.
- Play the pad grid. Your performance is recorded into the loop.
- Tap Stop when you're done.
You only record while playback is running and a track is armed.
5. Hear your loop
Tap Play again. You don't need to stay armed for playback. The timeline shows the current bar and beat, and pads flash as your part plays back.
6. Save your song
- Tap the song list icon (top right).
- Tap Save or Save As and name your song.
The app also saves automatically after your first recording and as you keep working.

What to try next
- Layer tracks — arm T2 and record a second part while T1 plays back
- Setup → Help & About → Restore Demo if you want the bundled demo back after starting a new song (only shown when the demo is not already in Songs)
- Try Chords, Drums, or Sampler from the mode pills above the grid
- Open Mixer to adjust levels and FX (reverb tails, delay, inserts)
- Read Sampler to import or record your own sounds (Keys has Speed / Length; the record screen has an optional metronome)
- Read Recording for quantize, drums, and overdubbing
- Connect a MIDI keyboard — MIDI input
iPad
On iPad, performance stays on the left and Mixer, Sound Design, and Setup sit on the right in that order — no bottom navigation. Everything works the same; only the layout differs.